
How to plan with your own 3D objects
A building is missing from the catalogue? For framing, its location, height and basic silhouette are often enough. The object editor lets you assemble these from simple shapes.
01Set the object's position
Move the map until the crosshair sits on the building. For now, this is the object location, not your eventual camera position. Wait until the terrain altitude is available.
02Create an object
Open the three-dot menu (…). In the “3D display” section, tap “3D Objects”, then “Create 3D object” or the plus button. Give it a name. Its map position and terrain altitude appear at the top of the editor.
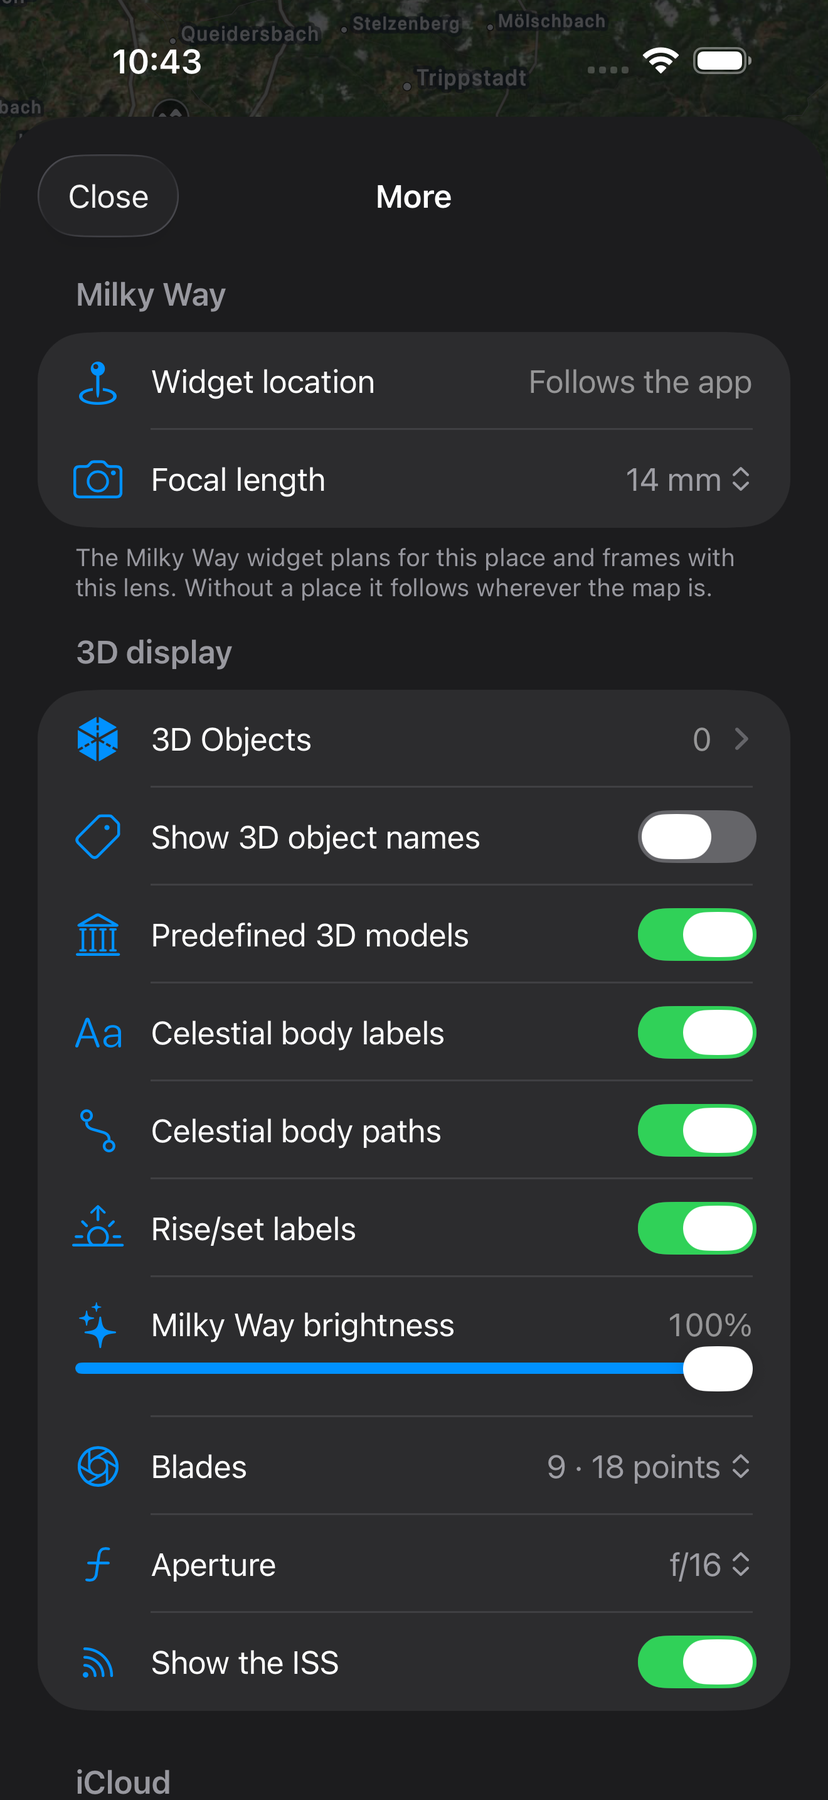
“3D Objects” in the “3D display” section opens your object list. 03Build with a few shapes
A new object starts with one basic shape. Use “Add part” to add cuboids, ellipses or an arch. Select a part in the list. Reconstruct only the silhouette that matters for your photograph.
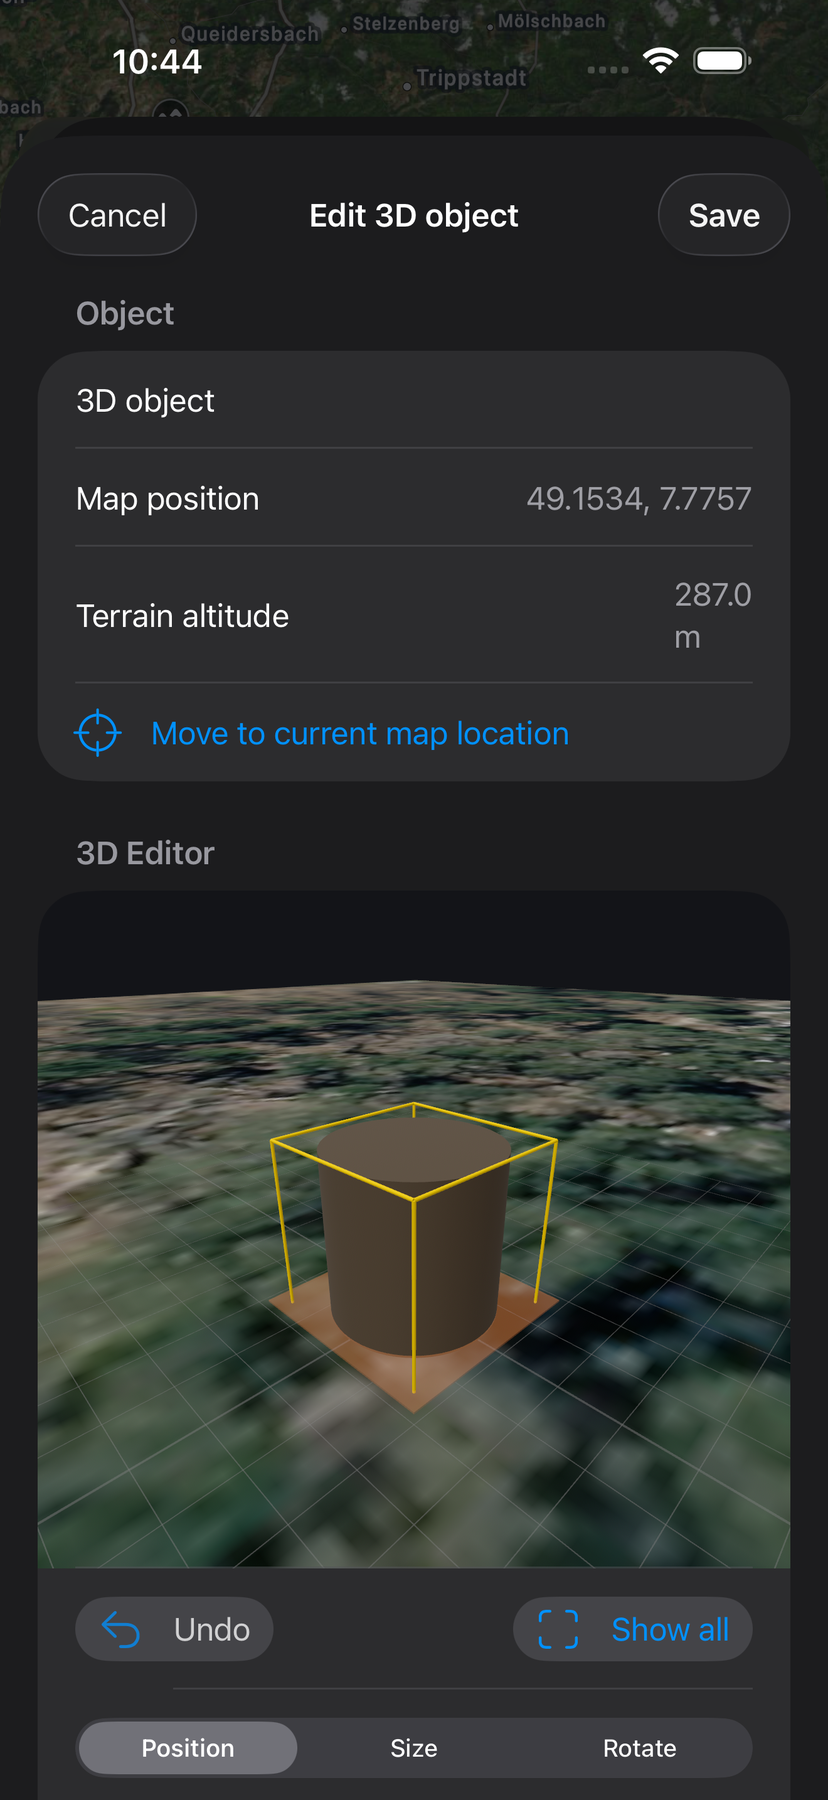
A new object starts at the map point you selected. The editor shows its basic shape over satellite imagery. 04Set dimensions and orientation
Switch between “Position”, “Size” and “Rotate” in the editor. Drag the handles or enter measurements in the fields below. The satellite image is north-up and to scale. Check height above ground in particular, and make sure parts sit on one another.
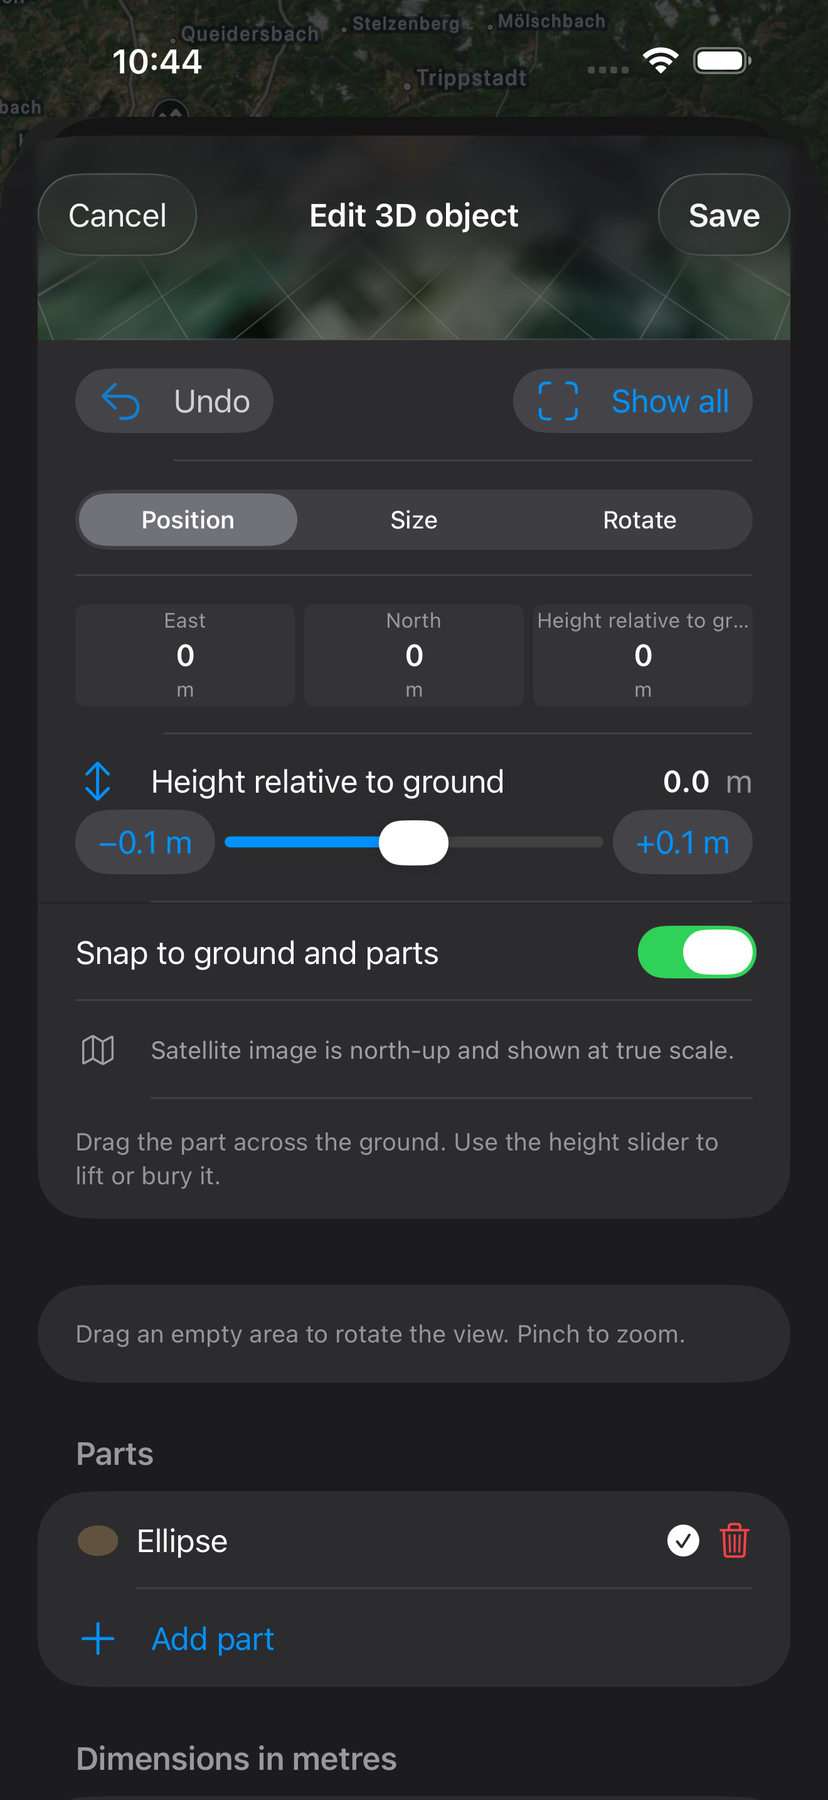
Height offset, snapping and the parts list in the editor. Use “Add part” to add more basic shapes. 05Check it from your viewpoint
First use “Show all” to inspect the complete model in the editor. Then tap “Save” and return to the map. Move it to your shooting position, then tap “3D” with the cube icon at the top. You can now align the sun or moon with the foreground you built and save your photographic plan.

A fictional example castle made from seven parts: round towers, an arched gate, a roofed hall and a taller keep. A few basic shapes are enough for the overall silhouette.
Use dependable measurements. A guessed height can be enough to explore an idea, but not to predict a precise sun alignment through a window. Custom models appear in the virtual 3D view, not over the AR camera image.